


How To Make Your Own DIY Photo Booth: 7 Simple Steps
Author: Hollie Bond
NB: To help you browse our best suggestions we have included some third party links. Some purchases made through these links may earn us a commission to help keep our blogs and offers current and up to date. Thanks for your support!
Let your guests be snap happy on your wedding day with a cool homemade photo booth that won’t break the budget. Ready, steady, strike a pose!
Over the last decade photo booths have become one of the must-have types of entertainment at a wedding. And for good reason. They’re great fun for guests and work really well as both a fun activity during the natural lulls in the day and also mean guests will have a lovely memento of the day to take home. You can even use your photo booth in place of a guest book by leaving an empty scrapbook and some glue beside it and asking guests to write a message next to their photo.
There are lots of different photo booth companies that offer hire for the day, and you can expect to pay around £400 to around £800 depending on the style, the photo booth backdrop, and the length of time you want to keep the photo booth for. When you hire a photo booth most packages include delivery, a photo booth attendant, a few hours hire, photo booth props, a dressing up box, unlimited prints on the night and digital copies (although sometimes these will cost extra to download after the event).
Hire companies also have lots of different themed options that you might want to consider. We’re talking Mini Cooper photo booths, colourful Asian tuk tuks, a VW camper, a vintage Airstream, a horse box and even entire blow up rooms!
If hiring a photo booth isn’t possible within your wedding budget, but you really think it’ll help your wedding be a success, then there are ways to create a DIY photo booth for very little money. And you don’t have to be a creative genius or spend hours and hours on it thankfully.
We’ve put together a quick and easy guide on to how to create your own DIY photo booth, covering everything from backdrop ideas and props to essential camera tips and photo booth apps.
How To Make a DIY Photo Booth
Step 1: Work Out Where To Put Your Photo Booth
Before you dive head first into Pinterest looking for cool photo booth backdrop designs, you need to be practical and do some planning first. Does your wedding venue have space for a photo booth to be set up and if so, where is the best place to put it? A photo booth needs to be near enough the main action (the dance floor, bar, or main reception space) but out of sight enough for guests who are having their pictures taken not to feel self-conscious and like everyone is watching them.
An alcove or corner of the reception room could work well, or perhaps there’s a small side room that you could use to set up your booth. At a summer wedding you could have your DIY photo booth outside in a horse box or vintage caravan or simply on a gazebo or patio area. Wherever you choose, just make sure that guests will easily be able to find it and it isn’t a massive trek back to the bar, as otherwise it will be a waste of your time and effort.
Most wedding venues will already have had couples who have had photo booths as part of their wedding entertainment, so if you’re unsure where to place yours ask the venue owner or coordinator as they will know the perfect spot that has worked well in the past.
Once you’ve chosen the space you’re going to erect your DIY photo booth, you need to measure the dimensions of the area – this will be really important when it comes to step 2!
Step 2: Think About a Theme And Style For Your Photo Booth Backdrop
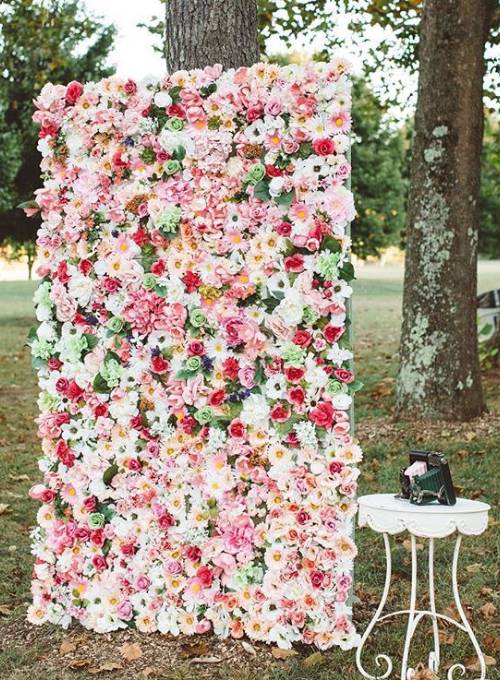
Now you know how much space you’ve got to work with, you can start the fun bit – choosing a design for your photo booth backdrop. Think about the theme of your wedding – could you create something that ties in with this? For example, a tropical wedding would look amazing with a palm leave backdrop wall, a country garden theme would benefit from a flower wall backdrop and at a festival wedding a cute tipi or hay bales would work really well as a backdrop.
Don’t get too carried away though. Simple is sometimes best. Be realistic about your creative talents (or rope someone else creative in to help you) and think about how much time you have to work on this. You’ll also need to consider the logistics of transporting the backdrop to the venue. If you only have a tiny car and you’ve built an 8ft masterpiece you’ll be in a bit of a quandary!
We’ve scoured the internet for some of the coolest DIY photo booths that you can use as planning inspiration for your own wedding day from cool chalkboards to an easy balloon wall….
1. Tropical Photo Booth Backdrop
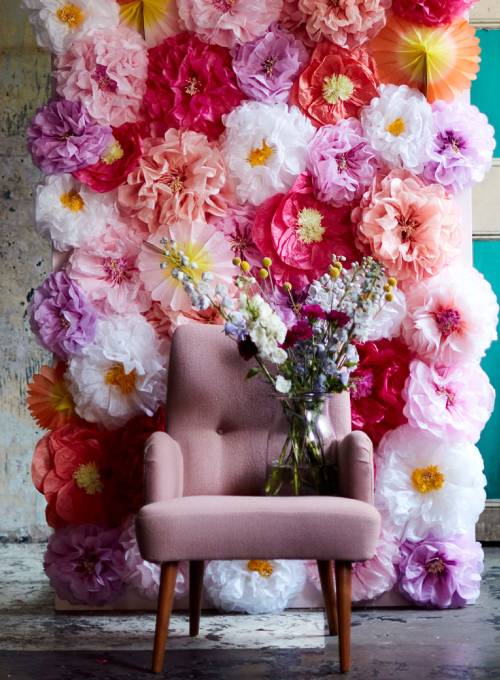
2. DIY Flower Wall Photo Booth
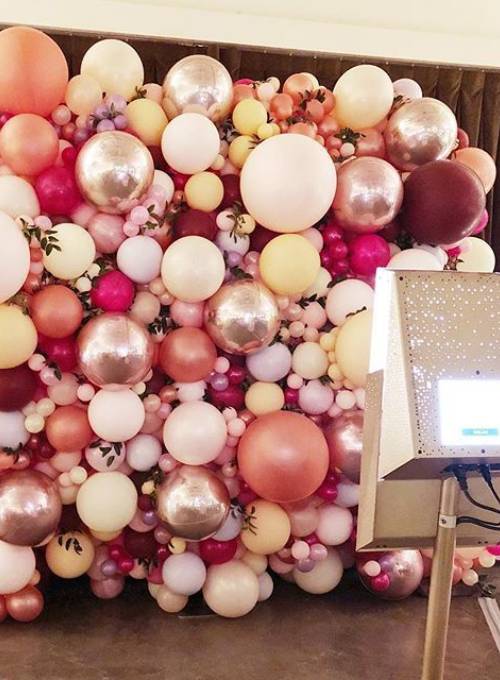
3. Balloon Photo Booth
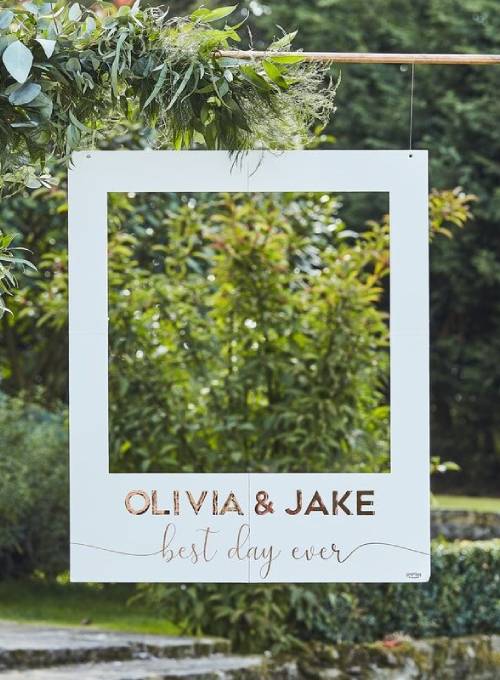
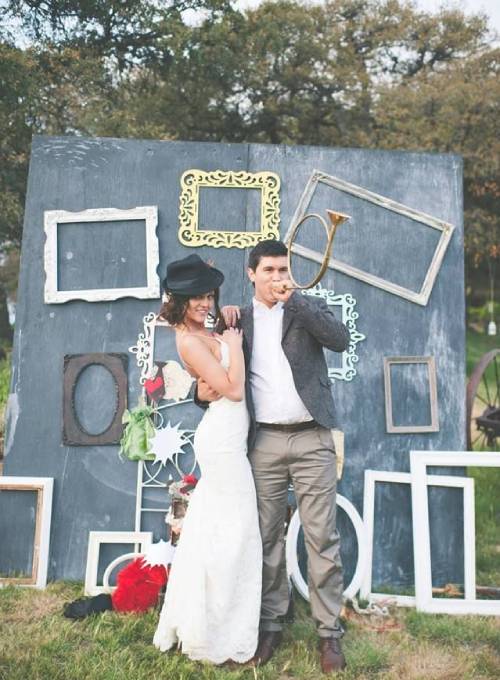
4. Personalised Photo Frame
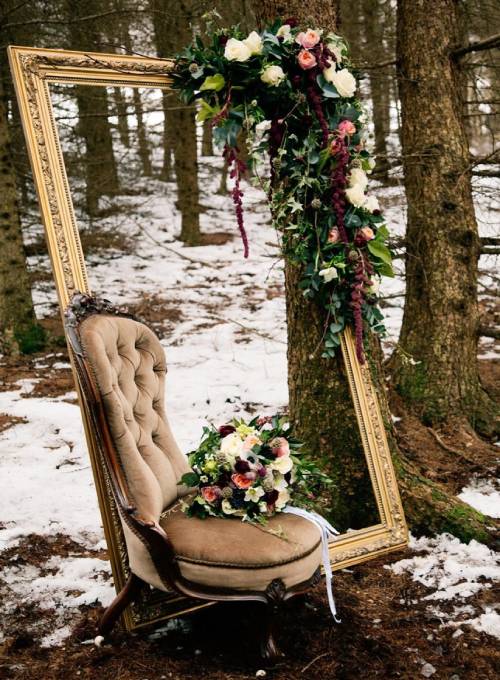
5. DIY Mirror Backdrop
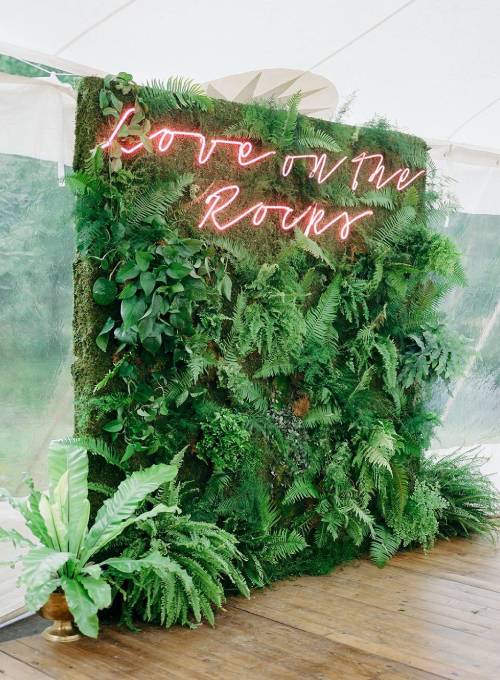
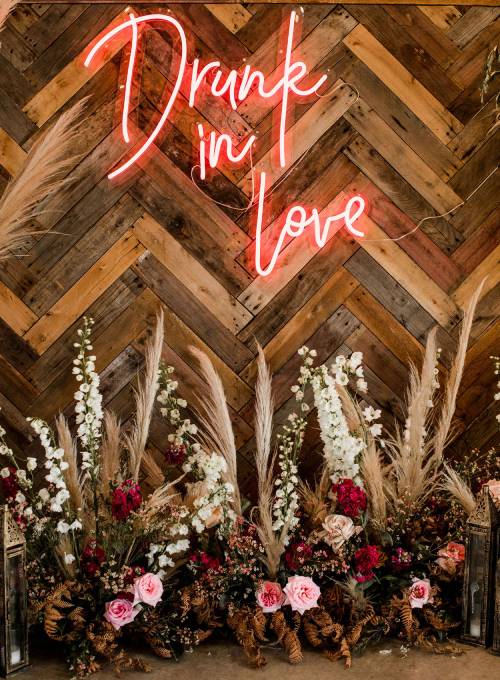
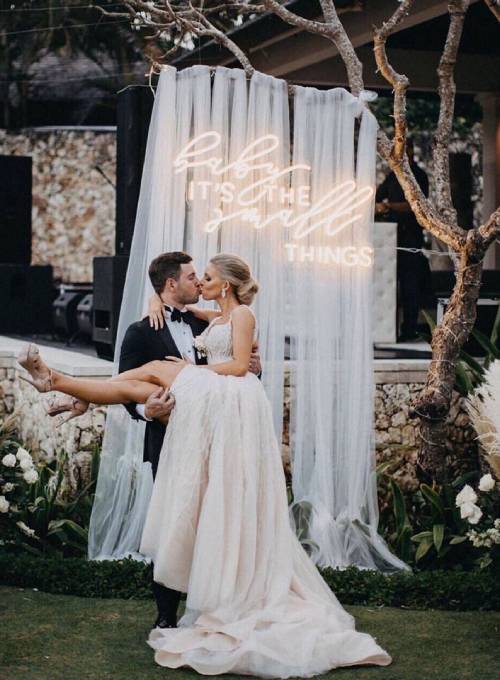
6. Neon Sign Photo Booth
7. Vintage Style DIY Photo Booth
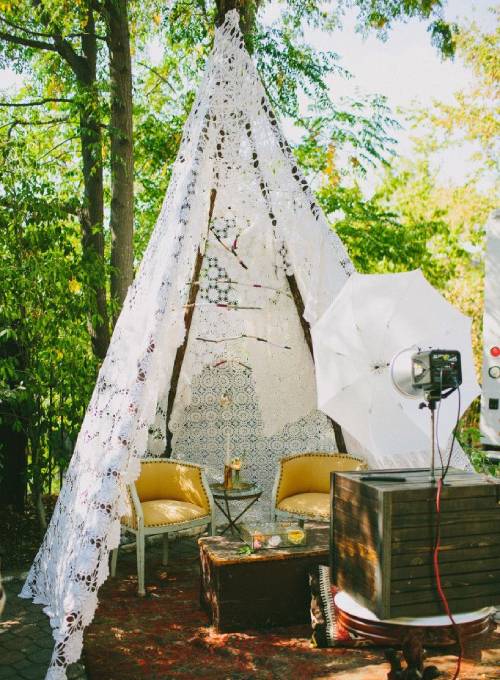
8. Tipi Photo Booth
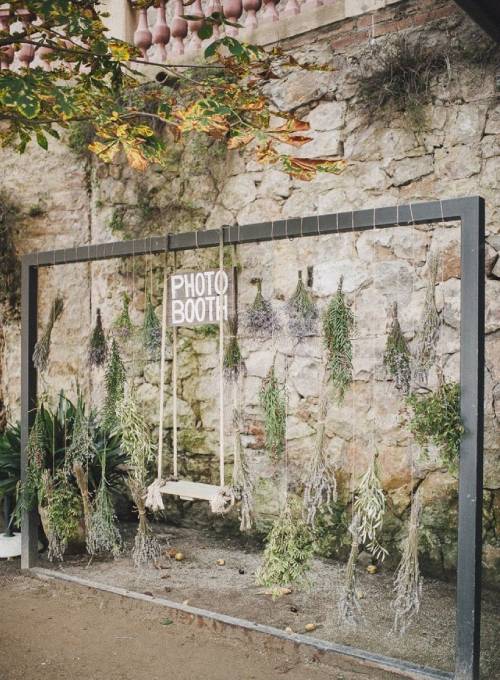
9. Swing Seat Photo Booth
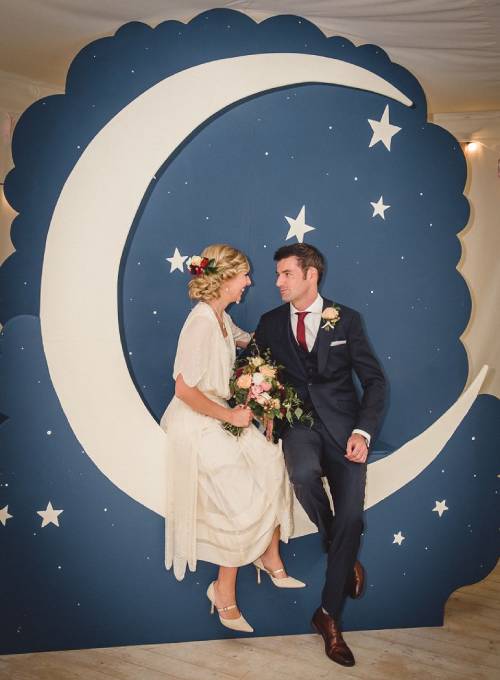
10. Celestial Themed Photo Booth
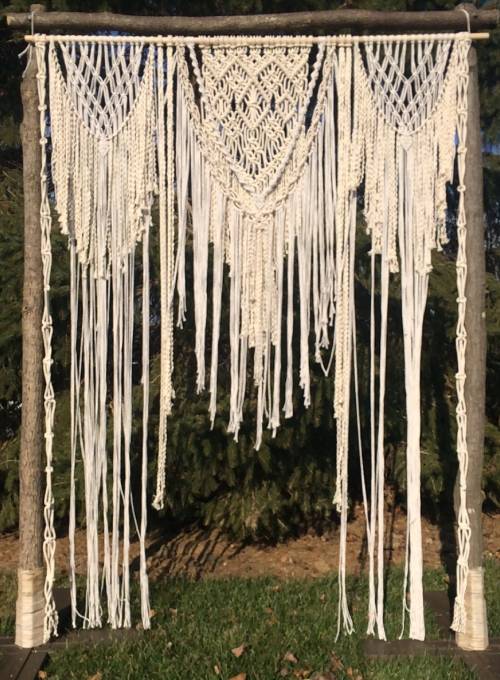
11. Macrame Photo Booth
12. DIY Pom Pom Photo Booth
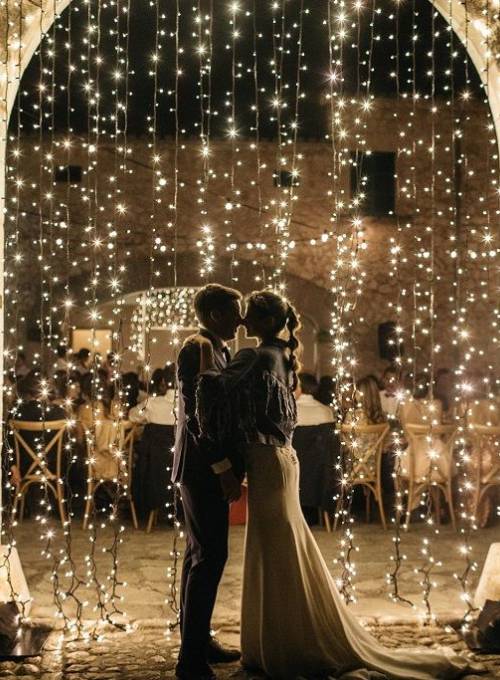
13. Fairy Light Curtain Photo Booth
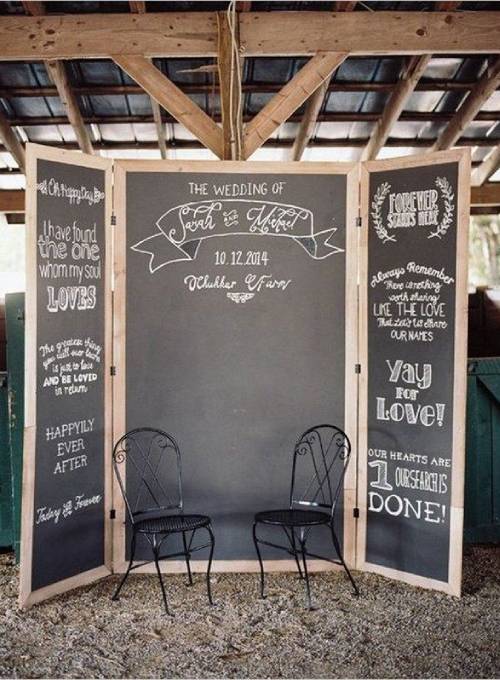
14. Chalkboard Photo Booth
15. Net Curtain Photo Booth
Step 3: Choose Your Photo Booth Camera
So you’ve got the perfect backdrop sorted, and now you need to think how you’re going to capture it and your guests in all their glory. The camera is the most expensive part of a DIY photo booth, but before you sink hundreds into a new camera have a think about what you already have at home or could borrow to make it a really budget-friendly option.
The simplest option is to use a Polaroid camera. That way, you can leave it on a table next to your photo booth backdrop and guests can take pictures of each other that are printed instantly. Even if you own a Polaroid or can borrow one, bear in mind that the film is pretty expensive so this can add up. You might want to limit guests to a couple of photos each.
Another really easy option is to invest in or dust off your holiday selfie stick and create a selfie station. You can either provide a phone with the selfie stick, which will keep all the photos on that you can then download and send to guests afterwards, or ask guests to use their own phones and then upload the images to social media using a particular hashtag or a dedicated photo booth app. Or if you like the idea of the images coming out instantly you can invest in/ borrow an instant portable photo printer. This is basically a small printer that connects to a phone by Bluetooth and allows you to print out a picture straightaway.
The most professional way to do a DIY photo booth is with a DSLR camera mounted on a tripod though. Obviously by the time you’ve bought a DSLR you might as well hire a photo booth, so this is only really an option if you already have a camera or can borrow one from a photographer friend. You can ask ushers or friends to take it in turns to take the pictures on the night or there is the option of a remote control that guests can click themselves while having their photo taken.
If you’re not camera savvy ask someone who is to check the settings of any cameras you’re using to make sure you don’t get a horrible glare from the flash or that the images are too dark. If you’re using the photo booth during both the day and night you’ll have to change the settings to reflect the change in the light too.
Once the wedding is over, you can upload all the photos to a digital site or app for guests to download.
Step 4: Provide Some Props And Dressing Up Outfits
A photo booth isn’t a photo booth without some props and costumes. The whole point of the booth is to be a form of entertainment to be enjoyed when guests are at their merriest, so you need to make it fun.
Search around for cheap and silly items like hats, oversized glasses, silly signs, wigs, feather boas, blow up items and outfits that are quick to pull on. You could even make some yourselves or buy a kit to make them out of card. They don’t have to be particularly sturdy as you only need them to last a few hours.
As well as props for your guests you might want to think about dressing your photo booth too with items that fit the theme like vintage suitcases, a fun chair or a neon sign. You can also order or make items like a big picture frame with your names and wedding date on it for guests to strike a pose inside.
Finally, you can make the whole experience even more interactive by setting up a face painting or glitter station at the entrance to the booth, so guests can decorate their own faces instead of using props.
Step 5: Think About Your Lighting
As well as considering the lighting settings on whichever camera you’re planning to use, you might want to think about the lighting of the actual DIY photo booth too. If you’re setting it up at night as most couples choose to (it’s when guests lose their inhibitions and are more likely to have fun), then lights will not only help show guests where the photo booth is, but they will create a lovely ambience.
All the wedding classics like fairy lights, festoon lights and hurricane lamps will work a treat. A ring light is a good choice for making your guests look their very best too. Steer clear of candles though as they can be very dangerous with drunk guests wearing cheap flammable dressing up outfits!
Step 6: Make Sure Your Guests Know What To Do
The last thing you want is for your guests not to use your lovingly put together DIY photo booth simply because you’ve forgotten to sign post that it’s there or because the instructions to use it are way too complicated after a few glasses of wine. No one wants to do anything that involves their brain at a wedding so spend some time making sure it’s a really simple process and that it’s clear to anyone who might be drunk or someone who isn’t very technically minded.
Make or buy some signs that have clear instructions and also consider some generic photo booth arrow signs to dot around the venue if you’re worried guests won’t find your DIY photo booth. If you want guests to use a photo booth photo in your guest book make sure to leave clear instructions and a table with the book and glue right next to the booth.
Step 7: Share The Love
Once the wedding day is over you’ll be desperate to see all the action that occurred in your DIY photo booth, as chances are you’ll have been way too busy dancing, chatting and generally being a VIP to spend much time watching your guests strike a pose. If you’ve chosen the option to have guests use their own phones for selfies make sure you really encourage them to use your hashtag so you can access the images on various social media platforms. Take a look at photo booth apps as these can be brilliant places to store all the booth photos and offer great options for sharing and printing in different styles.
Another really fun option is to print off all the images of different guests posing and use them for your thank you cards instead of the classic wedding photo card that is so popular these days.
Ready for your close up?