


15 DIY Wedding Invitations Ideas
Author: Hollie Bond
NB: To help you browse our best suggestions we have included some third party links. Some purchases made through these links may earn us a commission to help keep our blogs and offers current and up to date. Thanks for your support!
One of the joys of planning a wedding is choosing all the pretty details and while some couples will be more than happy to simply choose and pay for these details, a lot of creative couples will relish the chance to get hands-on and make decor and stationery from scratch. If the latter sounds like you and you have enough time to put towards a project then you might want to consider making your very own DIY wedding invitations.
Not only will getting creative with the wedding stationery add a really personal element to your day, but it could save you a huge amount of money. Plus, it’s a lovely activity to do together as a couple and will be something you’ll cherish well beyond your wedding day. Handmade wedding invites will also delight your guests when they arrive in the post, as they will be able to see how much time and effort you’ve put into creating a day that is unique to you.
Once you’ve made the decision to go DIY with your wedding stationery though, it can be difficult to know where to start. How ambitious should you be, what design will work best with your theme, and do you have the skills to make the invitations look high quality rather than like something a seven-year-old might bring home from school? The good news is, that we’ve done the hard work for you and rounded up 15 of the very best and (you’ll be pleased to hear) easiest DIY wedding stationery designs, with step by step instructions, so that even the most artistically challenged of brides or grooms will be able to make something truly stunning.
If it all sounds a bit daunting to make your entire wedding stationery suite or invitations, then don’t worry, there are still plenty of ways to add a bit of creative flair to the pretty paper details. We’ve also included top tips and tricks to give your professionally-made stationery that personal touch and ideas to get creative with smaller stationery items.
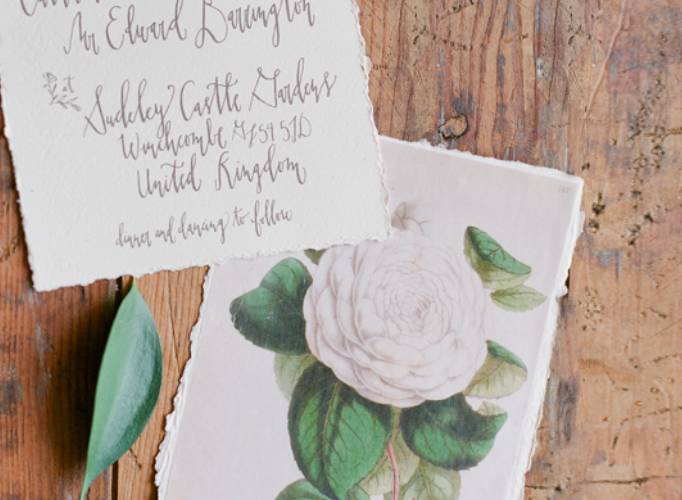
Hand-Painted DIY Wedding Invitations
If art was your forte at school maybe it’s time to pull out the old paintbrushes and watercolours and set to work creating hand-painted invitations. You don’t need to be Van Gogh in order to make hand-painted invitations look chic and professional. Choose a design that is simple, but effective – less is definitely more.
What you’ll need:
- Brushes
- Acrylic paints
- Good quality art paper
How to make them:
Step one
Choose a design and colour palette that works with the theme of your wedding. It could be an abstract design or something more classic like flowers, leaves or even a painting of your wedding venue if you’re skilled enough. Have a look on Pinterest, on wedding websites and in magazines for inspiration.
Step two
Practise your design as many times as possible before you set to work properly.
Step three
Use your thin brushes to draw the design and then fill in and shade with different colours to fill it in. Layer over different shades or add metallic colours to give it a glamorous edge.
Watercolour DIY Wedding Invitations
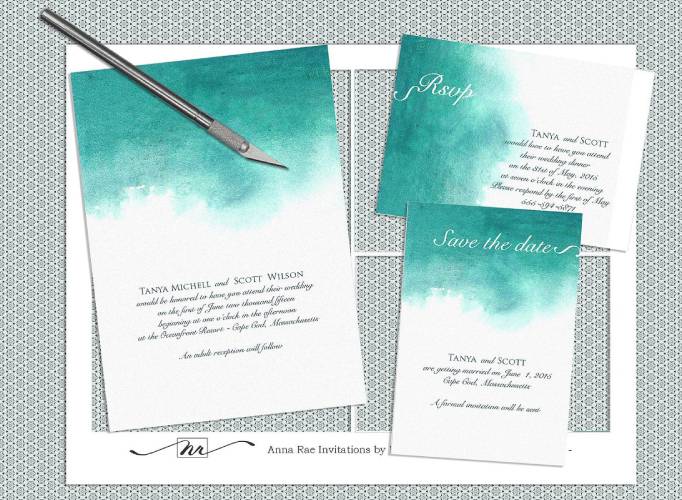
Hand-painting a design is one for more experienced crafters but if you love the painted look you can still achieve a really lovely wedding invitation design with minimal effort. Watercolour wedding invitations look really elegant and are a lot easier to make even if you’re not particularly skilled with a paintbrush because they’re meant to look abstract!
What you’ll need:
- A paintbrush
- Water
- High quality water colour paints
- Water colour paper
How to make them:
Step one
Choose your colour (or colours if you’re mixing a couple) and mix with water.
Step two
Apply the watered-down paint to your card in sweeping zig-zag motions ensuring that some areas have more depth of colours than others. To make it darker in some areas use less water on your brush and more paint. Try not to be too neat – it’s meant to be a relaxed look.
Step three
Leave to dry.
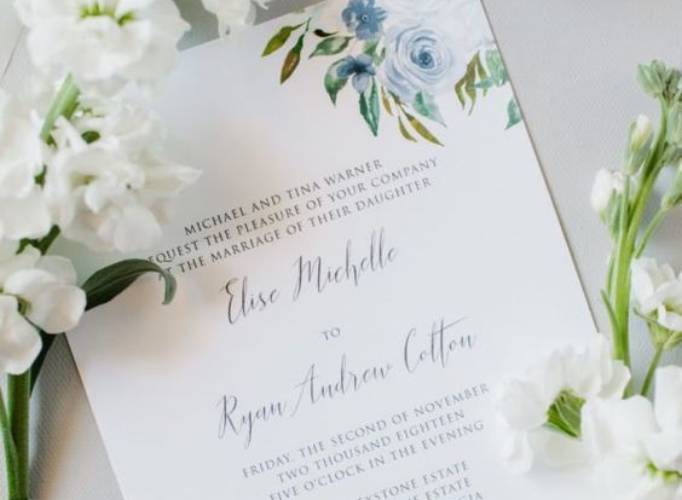
Floral DIY Wedding Invitations
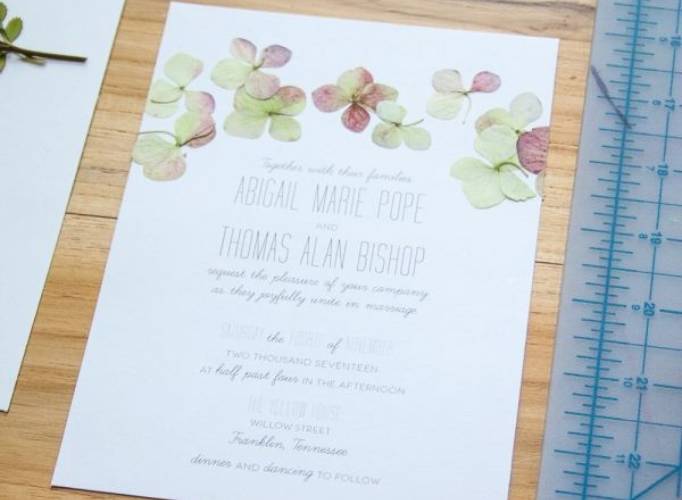
Floral invitations always look lovely for weddings and can easily be tied into the theme by using similar flowers to the ones you’re having on the day. You can use real flowers to make these simple DIY wedding invitations and the effect with be divine. You can buy some really cheap and plain wedding invitations on the high street and then jazz them up and personalise them using pressed flowers.
What you’ll need:
- Fresh flowers of your choice
- A hammer or flower pressing kit
- String or wax seals to secure
- Watercolour card or invitations
How to make them:
Step one
Choose the flower heads you want to use and pull them from the stem. Place them where you want on the watercolour card or pre-bought invitation.
Step two
When you’re happy with the design, use a hammer to press the flower heads into the card until completely flat and the colour has transferred. If you’re using a flower pressing kit, place the card with the flowers inside, tighten and leave to press.
Step three
Peel the flowers away once they have been pressed and the colours should be transferred leaving a perfect imprint. If you want to keep the dried flowers on the invitations for a more rustic look you need to keep a bit of the stem attached and secure with string or a wax seal.
Calligraphy DIY Wedding Invitations
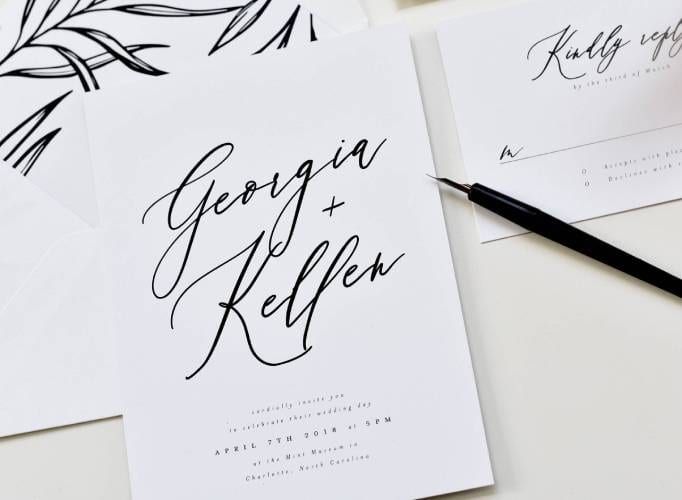
Fancy learning a new skill as part of wedding planning? Then sign yourself up to some calligraphy classes or order a book to help you learn the craft.
What you’ll need:
Calligraphy pens
High quality bleed proof card
How to make them:
Step one
Learn some modern brush pen calligraphy skills!
Step two
Using a pencil, sketch out the letters.
Step three
Once you’re happy, use your calligraphy pens to go over the pencil outlines.
Gold Leaf DIY Wedding Invitations
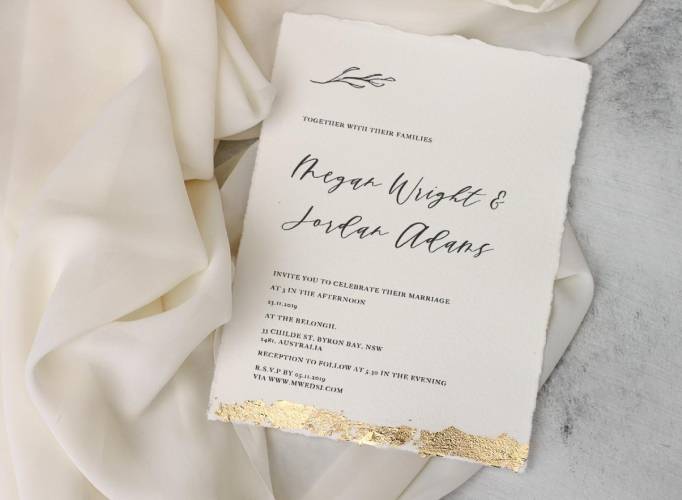
If your invitations are quite plain and could do with some added bling, you might want to consider adding some gold leaf. It’s easy to DIY and looks seriously glam.
What you’ll need:
- Gold leaf flakes and a brush
- Glue
How to make them:
Step one
Place a bit of glue in the areas you want to apply gold leaf. The corners of the invitations are a good place to start if you’re new to gold leaf.
Step two
Brush the gold leaf flakes over the glued areas.
Step three
Leave to dry.
Cut Out Design DIY Wedding Invitations
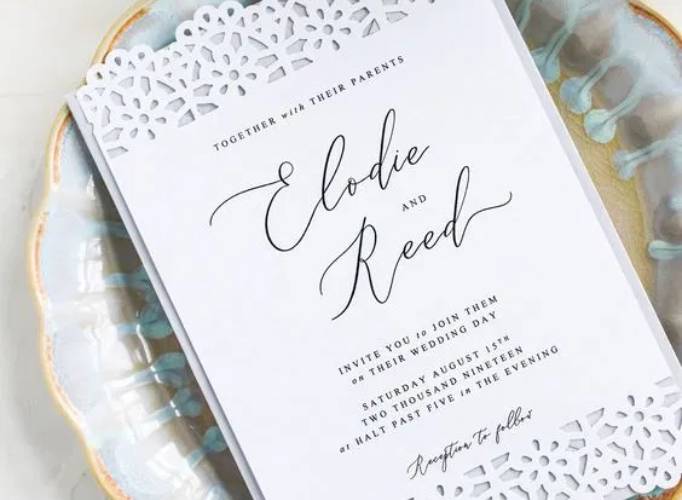
If your shop bought invitations are looking a bit plain, you can give them an instant professional update with a pretty cut out design.
What you’ll need:
- A pattern cutter/ punch
- Your invitations
How to make them:
Step one
Choose a design and decide which areas of your invitations you want to cut out (all the way round or just the top and bottom?).
Step two
Carefully punch out the design, making sure it’s perfectly lined up each time.
Wooden Letter Tile Wedding Invitations
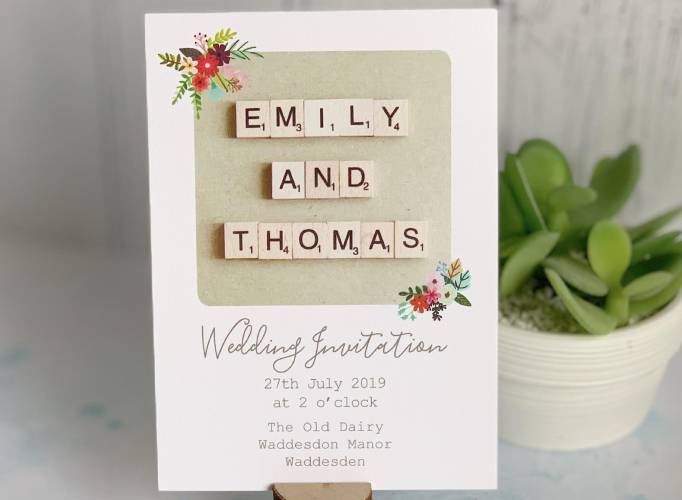
These wedding invites are super easy to make and look really cool and different. Less is more – so stick to your names or a couple of words and pair with another design like a watercolour background or floral design.
What you’ll need:
- Wooden Scrabble tiles
- Glue
- Card
- Ruler
How to make them:
Step one
Lay the wooden letter tiles out in the design you want to create. Perhaps you could create a Scrabble effect with your names if you share a letter?
Step two
Glue the back of the tiles and carefully place them on the invitation. It’s useful to use a ruler here to make them look really straight and professional.
Doily Lace Effect Wedding Stationery
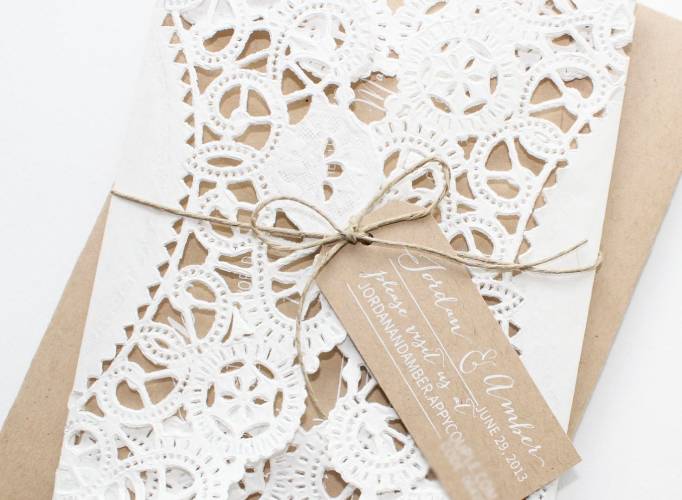
Ah the good old doily still has its uses, especially when it comes to crafting. This is a really budget way to make a pretty lace effect if you’ve chosen plain wedding invitations. This works particularly well with Kraft paper invitations as a good contrast.
What you’ll need:
- Doilies
- Twine
- Invitations
How to make them:
Step one
Place your invitations in the middle of the doily. You might want to measure to make sure it’s accurate.
Step two
Fold the two sides over the invitation and smooth down.
Step three
Tie twine or colourful string around the edge of the doily and in a neat bow at the front.
Wax Paper Wedding Invitations
Feeling adventurous? There’s more you can do with wax than just wax seals. You can make your entire invitations from this versatile craft supply.
What you’ll need:
- Hammer
- Wax beads
- Parchment paper
- image of choice printed on computer paper
- Scissors
- Glue stick
- Iron
- Knife
How to make them:
Step one
Place wax beads in between some folded parchment paper that is large enough to hold your chosen image.
Step two
Iron the parchment paper to melt the wax. Place your chosen image in the folded parchment paper and completely cover with wax being sure to smooth out any bubbles.
Step three
Remove the image and place between two sheets of plain paper and iron again to remove excess wax.
Step four
Allow to dry and then glue to your high-quality invitation paper. Use a knife to smooth it over.
DIY Balloon Wedding Invitations

What you’ll need:
- Personalised balloons
- Washi tape or string or ribbon
How to make them:
Step one
Decorate your piece of card as you wish – colourful washi tape around the edge or a cutout design will look lovely.
Step two
Create a couple of small holes in the centre of the card.
Step three
Place your personalised balloon in the middle and thread ribbon or string through the holes to tie in place. Or simply stick down with more washi tape.
DIY Envelope Liners
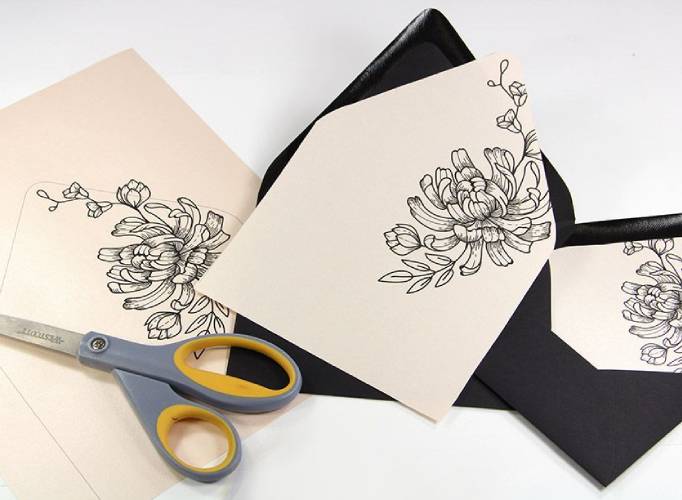
If you’ve gone for professional wedding invitations but want to try your hand at a bit of DIY how about jazzing up your envelopes? Envelope liners look really smart and are an unexpected delight for the recipient. You could use a pretty design or even a photo from your engagement shoot.
What you’ll need:
- Envelopes
- Pretty paper or your personalised design of liner
- Scissors
- Glue
How to make them:
Step one
Print out your envelope liner template and then trace it on your chosen paper. Cut out the shape.
Step two
Glue the back of the envelope liner right to the edges and carefully line up inside the envelope and then smooth down. Leave to dry.
DIY Wedding Wax Seals
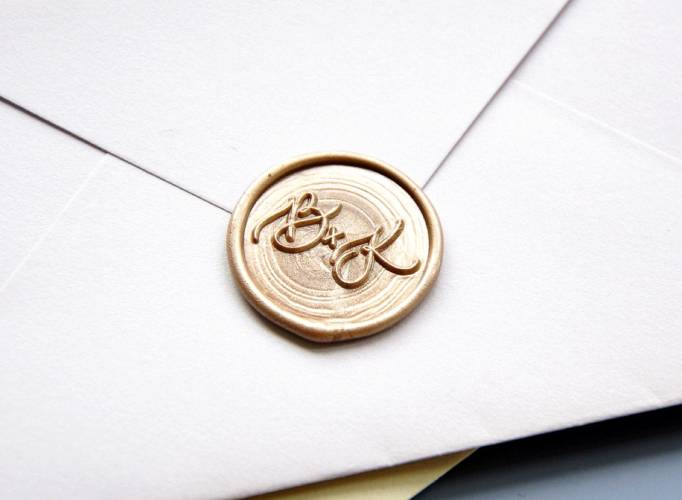
Wax seals give your invitations are very posh and special feel to them. It’s like receiving something from a fairytale when they land on your guests’ doorsteps! Wax seals are super easy to do too.
What you’ll need:
- A stamp of your choice
- Sealing wax in your choice of colour (choose the ones with wicks to make it super simple)
How to make them:
Step one
Seal your envelopes and lay them out on a table address side down.
Step two
Light your sealing wax and let the wax melt a little. Hold it carefully over the area of the envelope you want to seal (the point).
Step three
Once there’s a circle of wax in the desired area press down in the centre with your stamp and hold for a few seconds before realising. Allow to dry.
Personalised Stamp Wedding Invitations
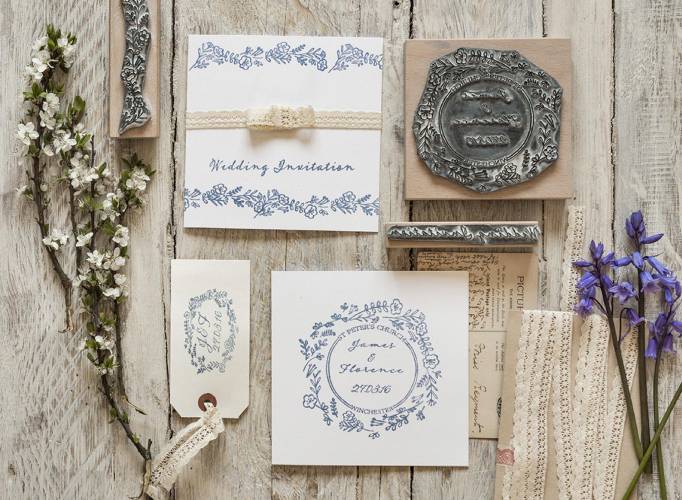
This is a really easy DIY wedding project and a nice budget friendly way to create smart pared-back invitations.
What you’ll need:
- A personalised stamp from somewhere like Etsy
- Ink in your colour of choice
How to make them:
Step one
Choose your design – your monograms, wedding date, or something more intricate.
Step two
Pick your paper for the invitations and line up your stamp. Dip the stamp liberally in the ink and stamp on the paper.
DIY Ribbon Wedding Stationery
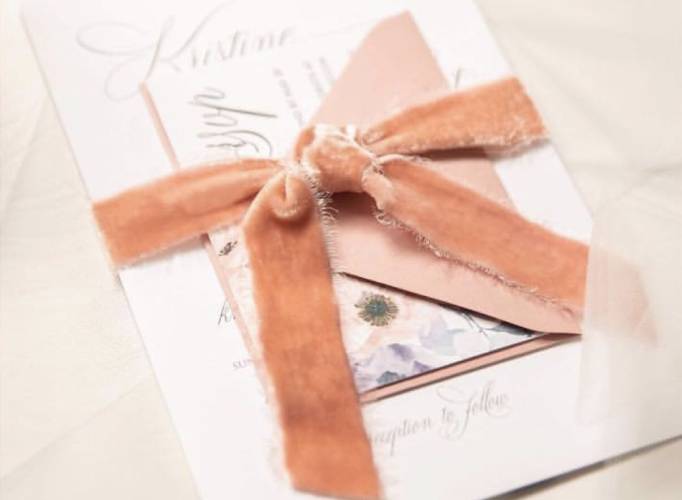
This is probably the easiest of the DIY wedding invitation projects and looks really chic. Choosing a ribbon in your wedding colours will help tie in your theme quickly too.
What you’ll need:
- Your stationery
- High-quality ribbon of your choice (velvet ribbon looks particularly gorgeous)
How to make them:
Step one
Decide on your ribbon tying method – parcel style or simply round the middle.
Step two
Tie the ribbon and incorporate any tags or pretty decor you want.
Embossed DIY Wedding Stationery
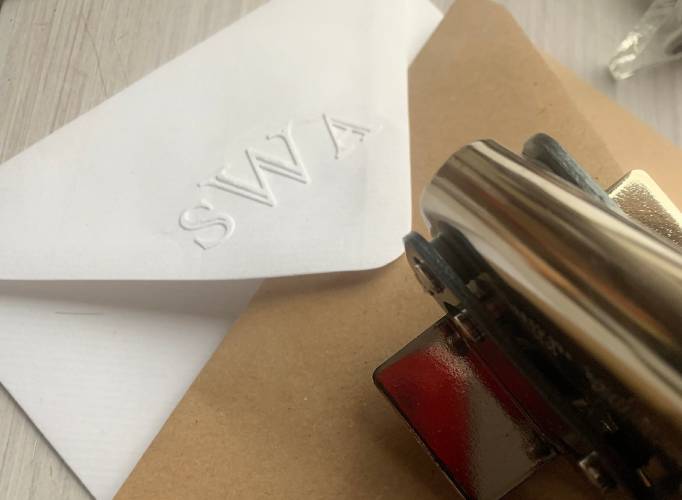
An embossed design on your envelopes (or invitations if you prefer) will make them look really professional.
What you’ll need:
- A personalised embosser
- Plain envelopes
How to make them:
Step one
Choose a custom embosser with a monogram or design.
Step two
Stamp the embosser on the point or your envelope or on the chosen spot on your invitation.